The basic of a quadcopter involves
a. Disassembly
b. Assembly
c. Integration
d. Testing (Stabilize, Loiter, RTL)
Day 1: Disassembly and Assembly of Quadcopter
The figure below shows the quadcopter before the disassembly process
The figure below shows the components of quadcopter
From top left to bottom right
1. Primary Base
1. Primary Base
2. Motors with propellers
3. Frames
4. Secondary Base
5. Receiver
6. Jumper wires
7. Flight Controller
8. Screws
9. GPS
10. Electronic Speed Controllers (ESC)
11. Battery (not on picture)
3. Frames
4. Secondary Base
5. Receiver
6. Jumper wires
7. Flight Controller
8. Screws
9. GPS
10. Electronic Speed Controllers (ESC)
11. Battery (not on picture)
Due to shortcircuit the the port for battery terminals is shared with neighboring ESC
The figure below shows the complete integration of the Quadcopter
The thrust was calibrated by keeping the mechanics of motor rotation in mind. The calibration of thrust is the same as to fixed wing.
How to Calibrate Thrust
Day 3: Test Flight

Notice the two different types of propeller. Understanding this characteristics will help in determining the thrust
The diagram below shows the mechanics of motor rotation of the quadcopter.
How to Calibrate Thrust
After calibrating the thrust, using the ratchet, tighten the propeller knob.
Flight modes for quadcopter differs slightly from fixed-wing
1. Stabalize - Manual control with stabilized assistance from FC of pitch, roll, and throttle
2. Loiter - Quadcopter maintain altitude
3. RTL - Quadcopter return to launch
1. Stabalize - Manual control with stabilized assistance from FC of pitch, roll, and throttle
2. Loiter - Quadcopter maintain altitude
3. RTL - Quadcopter return to launch
Note that the Mode 2 transmitter (Remote control ) is used for quadcopter. The diagram below shows the differences between the modes.
Credits oscarliang.com
Credits oscarliang.com
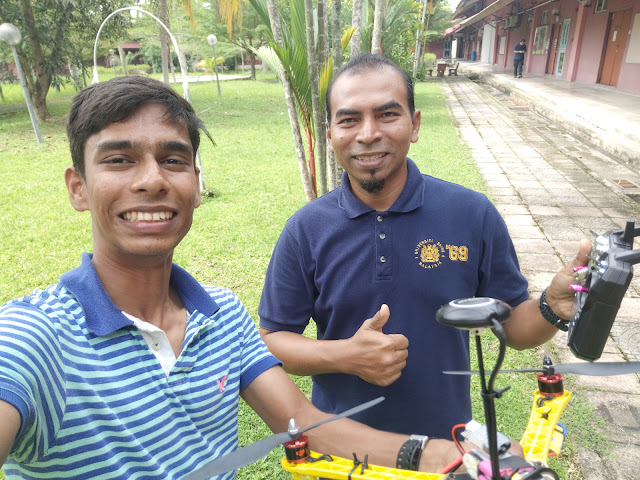
The test flight was successful with the testing of Stabilize, Loiter and RTL
Thanking Encik Amir for guiding me in learning to set up the Quadcopter.

Day 5 : Flight Test
Day 5 of Flight test concludes with integration of waypoints.
How to set waypoints
1. Check hdop and sats (satellites)
hdop values must be below 1.0
(As sats incrwase, hdop decrease)
2.Go to Flight Plan
Check home location. Locate home location and make sure it is cleared from any trees
3. Check flight modes
a. Auto
b. Loiter
c. RTL
4. Go to Flight Plan
a. Click "Add Below" for take off. Set altitude
b. Click anywhere on map to set waypoints. Set and check altitude.
5. Click "Add Below" . Select command - "Land"
Set "Land" altitude to 0
6. Click "Write WPs".And to double confirm "Read WPs"
7. At trasmitter , set to "Loiter" mode and Arm.
Then change to "Auto" and increase throttle to half
After landing, decrease throttle to 0
8. To make quadcopter stop , increase "Delay"


Comments
Post a Comment