Setting up FPV
The setting of FPV involves several components such as the battery, camera(FPV), receiver(ground), and transceiver(on aircraft) which is attached to the screen in this case.
The camera is attached to the aircraft to obtain real video imaging. In this case, there is no memory card attached, hence, the video will not be stored.
The antenna used can be omnidirectional and directional. In this case omni-directional antenna is used. The directional antenna has a longer range than the directional antenna.
The FR and CH on the transceiver represent channel and range, to avoid interference with other aircraft or components' frequency.
Note that the smaller frequency receiver has a longer range.
The figure below shows the basics and its explanation of setting up the FPV.
2. FBW A - Stabalise control with limit for roll, and pitch. Full manual control of the throttle
3. FBW B -Stabalise control with limit for roll. Full automatic pitch and throttle.
4. Cruise - Automatically control altitude, throttle, and heading
5. Auto - Automatically control roll, pitch and throttle
The aircraft will be controlled using the joystick in a closed environment (cabin) using the joystick. Calibration has been done to the joystick, following the above flight modes.
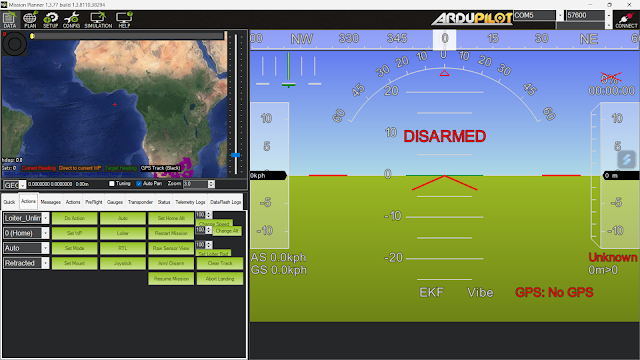
The calibration is done in Mission Planner by connecting the joystick, powering the aircraft, and plugging in the receiver (ground). Click the joystick option to calibrate the joystick.
The figure below shows the Mission Planner configuration to calibrate the joystick.

With respect to the joystick
Button 1 -
Button 2 -
Button 3 -
Button 4 -
Button 5 -


Comments
Post a Comment